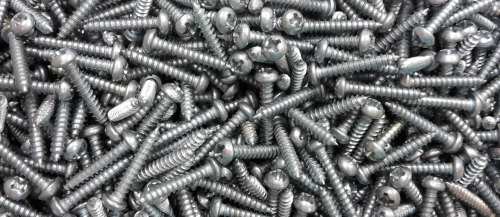
The Cavity Screw Tie has, for a number of years, been one of the bestselling products supplied by our partner company Bluebird Fixings. Ever since the crucial components have been part of our professional product portfolio, they have proved to be just as popular among our own customers.
Here are some tips on how to use Bluebird Fixings cavity screw ties safely, effectively and efficiently.
- Using Table 5 of Approved Document A of the Building Regulations, ascertain the correct length of cavity screw tie that is required for the project
- For each square metre of masonry, 2.5 cavity screw ties should be allowed
- Each wall tie should be set to a minimum depth of 50mm into both of the masonry leaves that are to be joined
- Installing the ties with a slight outward fall will stop moisture being transferred from the outer leaf to the inner leaf, preventing any of the number of issues that can be caused by internal damp
- It is essential that only fully-compatible plugs and insulation-retaining clips are used with Bluebird Fixings cavity screw ties. These are supplied free with each purchase with compliments of BS Fixings
- The area should be prepared by fully cleaning it, before checking that the masonry is completely sound and free of all defects
- Drill angled pilot holes that will accommodate the ties: holes should be drilled to a depth of approximately 45mm
- Insert a plug and a screw tie into each pilot hole
- Proceed to bend each tie up or down as is most suitable, bedding them securely into mortar joints
- Brick, block or stone masonry can then be laid in the usual manner
More details about cavity screw ties, along with information on the entire range of Bluebird Fixings products available from BS Fixings, can be found on our website.


