This week's BS Fixings news article introduced the Bandfix sign banding starter kit, which contains everything you need to immediately get started on any sign fixing project and is currently available with a 20% price discount. In this edition of our blog, we'll show you just how quick, easy and effective the sign banding process is with a simple step-by-step guide.
- After wrapping the band around the desired object that the sign is to be fixed to, insert the band through a buckle: the teeth should be facing towards the operator and the ears should be up. For the best results, continue the band around the object a second time and through the buckle. Bend the end of the band so it is underneath the buckle.
- Take the supplied banding tool and push the axle handle, allowing the band to be placed in the tool's slots. Push the nose of the tool firmly against the buckle.
- With a finger placed on the bridge of the buckle to hold it in place, turn the tool's handle to apply pressure.
- When the necessary amount of tension is reached, swing the tool over the buckle. Reverse the handle of the tool slightly as it is swung over, ensuring that the tension-increasing movement does not cause the banding to break.
- Cut the band by simply pulling the handle of the banding tool.
- Keeping the band held down with the thumb, remove the banding tool.
- Finally, use a hammer to bang down the ears of the buckle. This action completes the job by firmly sealing the banding in place.
To see these steps illustrated, please download the free .pdf document from our website.
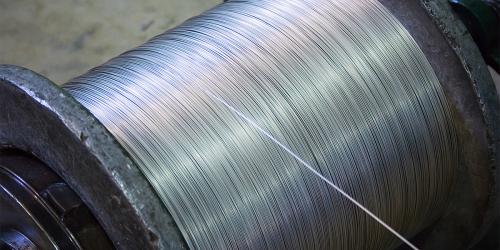
In addition to 30m of Grade 201 stainless steel banding in a choice of sizes, the BS Fixings Bandfix sign banding starter kit contains buckles and a whirley bird banding tool. Our 20% price discount is only valid for a limited time so order soon to avoid disappointment! All of the details can be found on the product page.