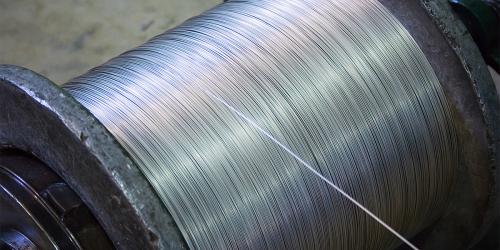
This week's BS Fixings news article focused on Bandfix aluminium banding, which is currently available with a 10% price discount. In this edition of our blog, we present a step by step guide on how to use the banding with our innovative Bandfix banding tool.
- First, wrap the aluminium banding around the object that you are fixing insulation to.
- Take a wing seal and insert the band through it. Ensure that the teeth of the seal are facing towards you and that the ears are pointing upward.
- This step is optional but will ensure the best results. Continue the band around the object for a second time, feeding it once again through the seal.
- Take the end of the banding and bend it until it is located beneath the seal.
- Push the axle handle of the banding tool, allowing the band to be placed in the slots of the tool.
- Firmly push the tool's nose against the seal.
- Hold the bridge of the seal firmly in place with your finger and apply pressure by turning the handle of the tool.
- Keep turning the handle until the required tension is reached, then swing the toold over the seal. As you do this, reverse the tool's handle slightly: this movement will increase tension on the band so be careful not to apply too much pressure or the banding may break.
- Pull the handle of the banding tool to cut the band.
- Using your thumb to keep the band held down, remove the banding tool.
- Take a hammer and use it to bang down the ears of the seal, completing the job.
All of the details about our Bandfix aluminium banding can be found on the product pages and you can also download a pdf document that shows these steps illustrated for your convenience. Don't forget that our 10% discount is only available for a limited time so please order soon to avoid disappointment. As always, you can contact our expert technical team directly for advice and support.