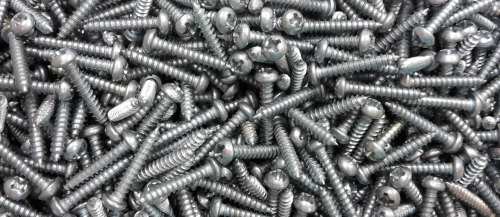
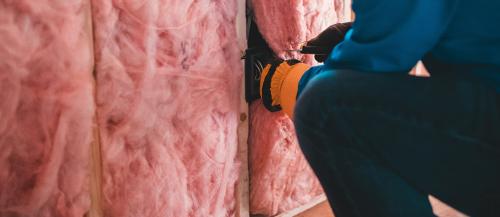
Insulation hangers, used to firmly secure insulation material in sheeting and cladding systems, are the newest product to be added to the already-extensive BS Fixings collection. As they are such a crucial part of the insulation system, it's essential that they are installed correctly so here is a brief step-by-step guide on how to do just that.
- Preparation. In order to achieve perfect adhesion, it is crucial to make sure that the surface is completely free of dirt and dust. Allow to fully dry before moving on to the next step.
- For perforated base insulation hangers, you will need to apply an appropriate adhesive and this should be done with a putty knife, working on only one hanger at a time. Our reccomended adhesive for perforated insulation hangers can be found here.For self-adhesive base insulation pins, it is only necessary to carefully remove the backing paper.
- Immediately after removing the backing paper (self-adhesive base) or applying silicone (perforated base), press the insulation pin into place with a slight twisting motion to ensure perfect adhesion. With perforated base hangers, the adhesive should protrude through the perforations and beyond the edges of the base itself.
- The adhesive should now be allowed to thoroughly dry, a process that can take up 72 hours depending on conditions.
- Insulation materials can now be installed, ensuring that it is held in place by the pins.
- Using the self-locking washer provided, secure the insulation in place.
- Any protruding nails should be snipped off or bent down.
That's it! You can see from the above steps just how easy this product is to use and, if you need any other information or advice, you are invited to get in touch with us to take advantage of the skills, knowledge and expertise of our technical team, who will be able to clearly and competently answer any questions you may have.
For more information about our new insulation hangers, check out the product page and this week's news article.


