A recent blog article on our website recommended the use of stainless steel banding to secure Christmas lights and decorations. As Christmas is such a busy time, you'll want to be sure that using this product is fast, easy and effective so check out the BS Fixings simple 6-step guide to using the Tamtorque system.
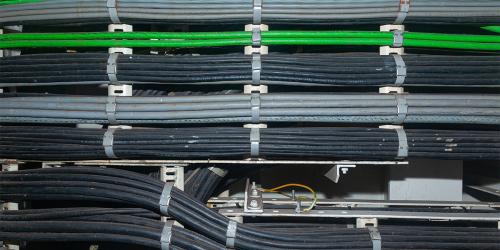
JCS produce Tamtorque, a powerful stainless steel banding solution that is used for all sorts of applications from sign fixing to securing street furniture. The system uses fully deburred steel so safety is dramatically improved and the accessories available are unique, making Tamtorque a particularly secure option.
At the heart of the system is a recessed socket bit, the seven sides of which make sure that the banding can only be adjusted or removed using the patented fixing tool supplied. The system has a long service life once installed, a process that is quick and simple as shown in these six steps:
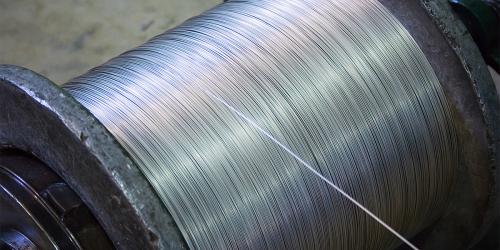
- Open the banding coil. This is done by hand and the deburred edges mean that protective gloves won’t be necessary so you can work unencumbered. Other systems obviously have much lower safety levels but the problem of gloves getting in the way has led many workers to dispense of them in order to make sure the job gets done quickly
- Thread the stainless steel banding through the slots of object you want to secure
- Position the banding correctly around the securing post - it doesn't matter what shape it is and a drill driver can be used for engaging the screw housings if you need to be quick
- Move the stainless steel buckle’s tongue to bring the clamp round to where it needs to be
- Smooth the clamp by pushing the banding through the buckle
- Complete the job by tightening fully, using the T-Bar screwdriver supplied
The Tamtorque system from JCS Hi-Torque comprises a number of elements, from the banding itself through to the buckles, tools and other accessories required to achieve a totally professional result, whatever the scale of the project. All of these elements are immediately available from BS Fixings and you can see these six steps fully illustrated in our online video.