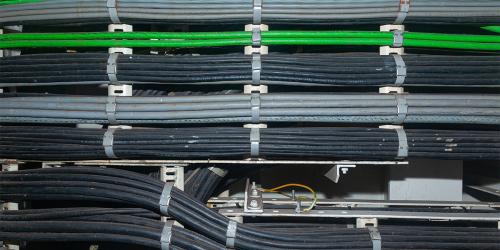
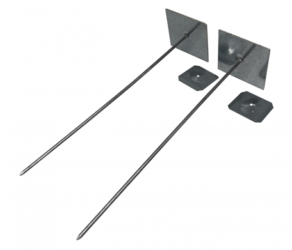
Insulation pins, also commonly known as hanger pins or install pins, play an integral role in installing and fixing various insulation materials. Typical applications include using the pins when installing noise insulation panels in engine rooms, compressor enclosures, or HVAC ducting. In this blog, we are going to talk about the different types of insulation pins, and we are going to give a step-by-step guide on how to use them!
To begin, it is best for you to be aware of the different characteristics of insulation pins and their purposes–do not worry, there are not too many! The first thing we are going to discuss are adhesive and perforated-base insulation pins, which are relatively self-explanatory in their function, however, both work differently:
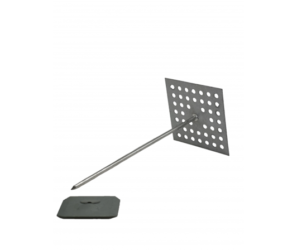
- Self-Adhesive pins are pins with a flat back, and no holes, that you can stick onto surfaces using the adhesive strip that is already present.
- Perforated-base pins are pins that have multiple holes in the bottom, where you can apply your own adhesive in order to stick onto surfaces.
Whether you choose to use the self-adhesive pins or perforated-base insulation pins just depends on the type of adhesive you prefer for your specific pin installation job and the material you are attaching them to.
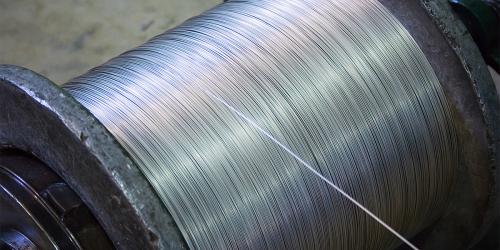
The next point to discuss is the material that the insulation pins are made of. They are usually made of either aluminium or galvanised steel, however, they can be made of other materials such as stainless steel (which we stock in our online store!).
Aluminium is a metal that has some common traits with galvanised steel such as corrosion resistance, flexibility, great thermal conductibility, and ductility, but it also has notable traits such as weather resistance and physical versatility. Galvanised steel is an alloy of iron that is obtained by dipping carbon steel in molten zinc which sticks onto the steel in the same fashion cling film sticks to something. You may choose aluminium over galvanised steel because aluminium is much easier to clean (which is an important step in the installation process that we will soon touch on), and it naturally eliminates bacteria growth. You may choose galvanised steel over aluminium because it is a heavier, sturdy metal, which may be preferred for the installation.
In this next section, we are going to show you how to use the insulation pins step-by-step! In this section, we will be showing methods for the adhesive and perforated-base pins. Let’s go!
Self-Adhesive Insulation Pins:
- First, you need to clean the surface area in which the insulation pins are going to be applied; this will help provide the best likelihood of strong adhesion.
- Peel back the protective film to reveal the adhesive, then stick down where you want it to be applied. Do this with all relevant pins you need.
- Then, apply your insulation onto the pins, making sure the pins are fully pressed through (whilst avoiding hurting yourself, of course!)
- Finally, apply your washers to the top of the pins to secure the insulation into place.
- Installation complete!
Perforated-base Insulation Pins:
- As in the previous method, clean the surface area where the insulation pins will be applied.
- Next, run your external adhesive over the back of the insulation pin’s flat surface, including over the holes.
- Then, apply them onto the wall in the positions required.
- Put your insulation over them, just like before, making sure it is fully pressed down and the pins have gone through.
- Finally, just apply your washers and your job is done!
That concludes our blog on insulation pins, if you would like to browse our insulation pin range, then check them out on our online store. If you would like to speak to someone here at BS fixings for further information, you can contact us via telephone on 03330 117818 or via email at [email protected]!