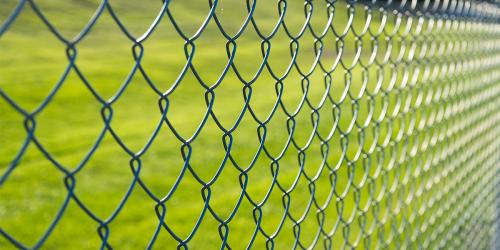
Coil mesh, one of the latest products to be added to the BS Fixings collection, is designed to be incorporated into masonry panels, increasing their rigidity and giving extra control over cracking. Here is a step-by-step guide on how to use it for optimal results.
- Make sure that the wall is sound and free from any moisture-related issues
- Use a pH-neutral cleaner to wash the surface before rinsing with clean water
- Allow the wall to air-dry for 24 hours. Alternatively, pat dry with a cloth and wait two hours for drying to complete
- If there is paint on the wall surface, roughen it by sanding with medium-grit sandpaper. Paint can interfere with the adhesion qualities of plaster or mortar that is placed against mesh after it is mounted: the sanding process removes this interfering finish
- Use a clean, dry cloth to wipe away any residue after sanding
- Measure the wall and cut the mesh to the required size using snips. Be sure to wear protective gloves (also available from the BS Fixings website). If using multiple sheets of mesh to cover the surface, allow for overlapping edges when measuring and cutting. Where pieces meet with a horizontal seam, an overlap of around 5cm is required: for vertical seams, allow 15cm of overlap
- With the diamonds of the mesh pointed upward, hold the piece against the wall. Use concrete nails to secure the mesh in place, driving them through the mesh into the wall. Nails should be spaced at around 15cm, using staggered rows. Drive the nails through any overlapping edges to prevent them from curling upward
- Continue the surface onto adjacent walls, bending the mesh around corners as required. Be sure to extend the sheet at least 15cm after rounding a corner, continuing with normal overlapping spacing with the next sheet
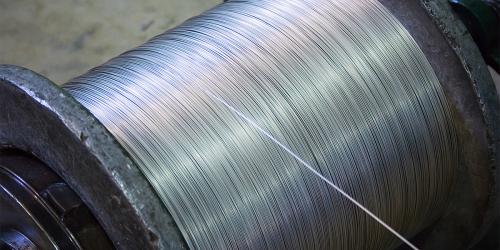
Coil mesh from BS Fixings is available in a range of sizes in either galvanised or stainless steel. Find out more details on the product page of our website, where you can also download a full data sheet in .pdf format.