Here at BS Fixings, we stock and supply a variety of screws, to be used for an endless amount of construction, decorating, and DIY projects, but what about the accessories that go with them?
Whether you’re installing a shelf or displaying a well-loved framed picture in your home, you will want the final result to be long-lasting, and wall plugs can help you achieve that!
Wall plugs, also known as ‘rawl plugs’, are used to hold screws securely in place with materials such as plasterboard and masonry walls. If you are looking to mount a product onto either one of these materials, you will more than likely need a wall plug to make sure the screw is tightly fixed. Wall plugs provide a strong hold in solid materials, as well as offer an anchor in hollow panels. Without them, screws cannot successfully grip materials such as plasterboard, creating a fixing that will become loose over time.
Wall plugs are manufactured out of medium-duty, modelled plastic, that expands when the screw is entered. They work by gripping onto the sides of the initial hole you have drilled, allowing for a secure fixing that does not damage your walls. We stock wall plugs in a variety of sizes to accommodate standard screws. You will need to make sure that your screw matches the wall plug, as it will need to fit snugly inside.
How to install wall plugs
Step 1 - Firstly, you need to decide where your wall plug is being installed, making sure to look out for potential wires or pipes. Once you have pinpointed the area, mark it with a pencil.
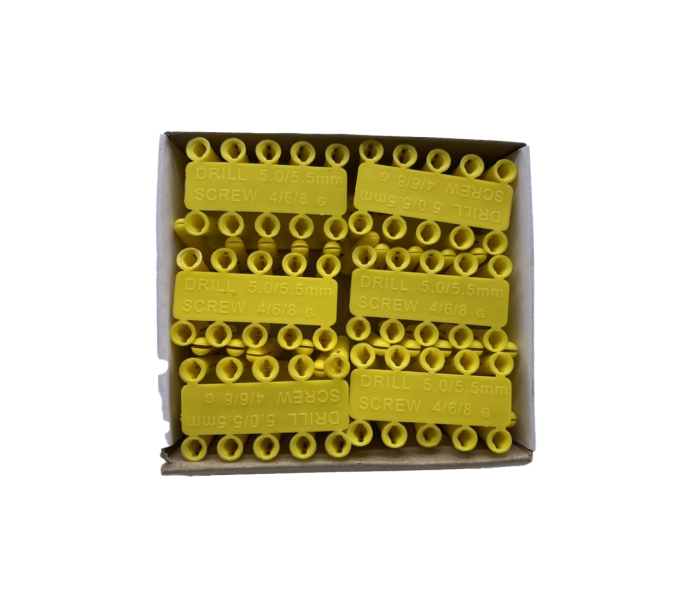
Step 2 - Select the appropriate wall plug and drill bit for your screw. It is relatively easy to find the correct tools, as the wall plugs will be labelled with the sizes that are needed. For example, our wall plugs are marked with both the drill bit and screw size. In some cases, the wall plug is denoted with S6, which correlates to a drill bit size of 6mm.
Step 3 - Measure the plug against the drill bit and mark its length with tape. This will give you a good indication of when to stop drilling. You will need to drill a little deeper than the length of the wall plug.
Step 4 - Drill the hole on a hammer setting for a more accurate finish.
Step 5 - Once the hole has been made, simply insert the wall plug. Although it will be a tight fit, you should be able to push the plug into the hole with your finger or you can use a light hammer.
Step 6 - The screw is now ready to be driven in. When the screw enters the plug, the plastic will start to expand outwards, applying a strong holding force within the surface material.
Step 7 - Tighten the screw until it reaches the length of the plug (when it stops turning).
We stock a variety of wall plugs on our website, including items from industry leaders such as SPAX. Our plugs are available in 5mm, 6mm, 7mm, and 10mm to suit all of your requirements. Please feel free to browse our extensive product catalogue or if you require more information, contact us today and a member of our team will be happy to help!