This site uses cookies to help deliver its services and analyse traffic.
Top Tips for a Successful Wallpapering Project
We know there are many experienced painters and decorators out there who have "Been there" and "Done that." Well, this one's for those of you who haven't. We thought that we would put together a short blog post for all those embarking on a bit of DIY in the near future. You could perhaps be undertaking your first ever wallpapering project. Well here are some wallpapering tips to give you a hand.
- The wallpaper - make sure you choose the best quality wallpaper you can afford. Remember, you could be living with it for many years to come. It's important to look at the way in which the paper will stick to your wall when buying wallpaper. Generally, there are three different wallpaper types: pre-pasted, paste directly to the wall, and paste the wallpaper. Make sure you know which you have purchased as this will affect how you hang it.
- Get a sample - shop lighting, the space in-store and everything else going on around you can affect how the paper looks in the shop. Get a sample, take it home and apply it to your own surroundings. This helps you to get a feel for what you like and don’t like. You don't want to commit yourself to buying rolls and rolls of paper you hate.
- Once you have chosen the paper you want, buy all you need in one go. Then, check the batch numbers to make sure the rolls all have the same batch number. If you have to buy more later, chances are it could be from a different batch, and therefore the colours might not match perfectly.
- Make sure you have all your tools ready. There is little worse than starting a DIY project and discovering halfway through you are missing a vital tool. These are the things you will need before you start:
- Wallpaper glue /wallpaper paste
- A flat table to lay the paper on to apply the paste if it is to go onto the wallpaper directly
- You will need a wallpaper paste brush such as the Harris Wallpaper Paste Brush which can be bought from our website
- A Harris Paperhanging Snap Knife -this paper knife has been specifically designed and engineered for cutting wallpaper
- A wallpaper smoother such as the Harris Wallpaper Smoother – this is ideal for smoothing out any bubbles and ripples when wallpapering
- Harris 10-Inch Scissors - essential and ideal for cutting wallpaper
- Harris Large Decorating Sponge - plus a large bucket of water to help wipe down your wallpaper
- Paint roller and tray – useful when applying adhesive across a large area and far better than a tub.
- A spirt level – to ensure you get that first line plumb and the pattern straight
- A pencil to mark any cutting posits or lines
- Rags – used to clean up excess adhesive as it is pushed out from under the wallpaper with the smoother
- Stepladder – for when you need to hold the wallpaper up at the top of the wall- you might think you can reach, but fatigue will soon set in when over-stretching
- Watch a video to see how best to hang the paper- watching others will give you confidence and show you the tricks of the trade.
- Be patient - as with any home improvements, the more time you take preparing the room, the better the results.
We hope this gives you the confidence to try wallpapering yourself. If you have any questions about the products we sell and how to use them, don't worry. Just contact one of our sales team.
Latest from BS Fixings
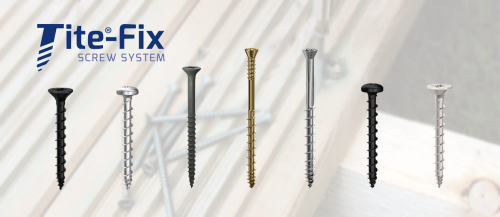
Introducing Tite®-Fix at BS Fixings
BS Fixings is proud to introduce yet another brand to our lineup - Tite®-Fix! This brand offers a range of high-quality screws designed for various applications, from tongue & groove...
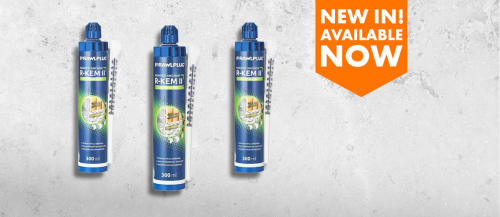
Continue readingNew In! Rawlplug’s R-KEM2 Polyester Styrene-Free Resin
We're pleased to share something special with you – the Rawlplug R-KEM2 Polyester Styrene-Free Resin 300ml has just landed at BS Fixings! This ingenious resin is designed for use in...
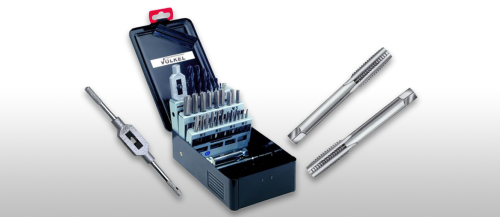
Continue readingIntroducing the Premier Volkel Range!
At BS Fixings, we are proud to stock a fantastic range of products from many well-known names in the DIY and construction market, and we’re excited to extend our catalogue...
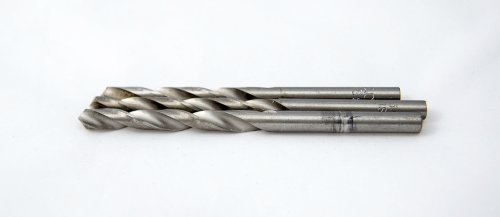
Continue readingHow Do I Choose the Right Size Drill Bit for a Wall Plug?
In this blog, we’re going to tackle another common question we hear in our community – how do I choose the right size drill bit for a wall plug? Choosing...
Continue readingWhat’s the Difference Between an Anchor Bolt and a Through Bolt?
When it comes to securing anything from the lightest of fixtures to the heftiest of machinery, the importance of choosing the right bolt cannot be overlooked. It’s the kind of...
Continue readingWhat is the Difference Between Type 2 and Type 4 Wall Ties?
If you’re struggling to find the right wall tie for your construction project, you are not alone. Wall ties, essential for the structural integrity of buildings can often lead to...
Continue reading
