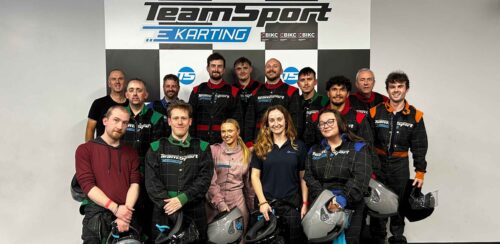
This site uses cookies to help deliver its services and analyse traffic.
Bird Prevention Spike Installation: Step by Step Guide
Bird Prevention Spikes are a safe, cost-effective and completely humane method of deterring birds from landing on ledges, parapets, girders, aerials, signs, gutters, chimneys and indeed any other part of a structure. For a limited time, the full collection of Bird Spikes is currently available from BS Fixings with a 10% price discount.
Here we show you just how easy it is to install bird spikes with our short step-by-step guide.
- As with any construction project, it is absolutely essential to prepare correctly to achieve a professional result. With bird spikes, preparation involves simply cleaning the area, which should be carried out using Germ Clear Disinfectant Spray (this product is also available from BS Fixings: check out this week's edition of our blog for more information)
- Cut open the container of Silicone Fixing Adhesive (also available on the BS Fixings website) and attach the application tube, before placing into a quality caulking gun. This clear, specially-formulated adhesive is UV stabilised, resistant to corrosion and has a life expectancy of at least 35 years. It is safe and effective when used on almost any surface, including wood, steel, glass, brick and concrete
- Apply adhesive in a thin bead, right along the entire length of the base of the bird spike
- Press the spike firmly into place, allowing the adhesive to ooze through the silicone locking holes in the base
- The fast-drying adhesive will immediately lock the spike into place
- The adhesive takes around 24 hours to fully cure. During this time, the silicone in the formula reacts with the polycarbonate spike base, ensuring a lasting hold that accommodates natural flexing
Save 10% across our range of bird spikes and bird prevention solutions but hurry: sale ends on the 16th of August!